


Tutorial: How to start ski touring ?
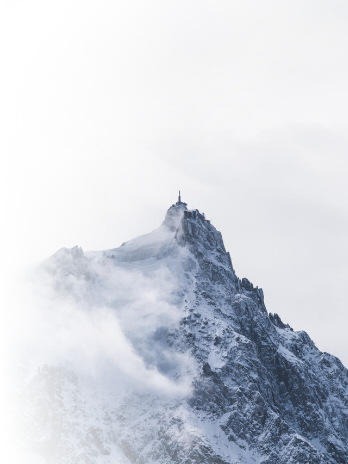
Ski touring is booming and nowadays is a real craze in mountain sports and even more so after the COVID 19 crisis and the closure of the ski lifts during the 2019/2020 season. Accessible, a source of sensations, in a preserved environment, it allows you to escape a little from conventional sports and to discover a new approach to the mountains.
However, as every mountain sport, there is some risks and it’s therefor mandatory to know the specificity to start touring in safety and in good conditions. We’ve noticed that it is sometimes difficult for an outsider to know how to start ski touring safely with the right equipment and sufficient knowledge. It is thus accompanied by our guide Pierre Masbou alias Pierro that we will guide you towards the good gestures to adopt.
Pierre Masbou
My name is Pierre Masbou, I’m an aspiring guide and a ski instructor. I currently work as a rescue gendarme instructor at the national ski and mountaineering center of the gendarmerie (CNISAG, mountain rescue training center). I’ve started mountaineering and touring in my native mountains: the Pyrenees.
Here’s a famous quote that stayed in me since the beginnings “The mountaineer is a man who leads his body to where his eyes once looked...”
The origin of ski touring
The origins of ski touring
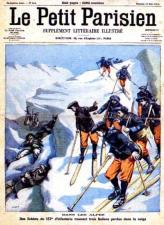
Ski touring began almost 4000 years ago with our Scandinavian friends. In order to hunt over long periods of time, they found it wise to do it with skis on their feet. Equipped with seal or elk skins, these allowed them not only to advance but also to take slopes. Recognized as useful, this invention was therefore adapted for military use but also for explorers at the beginning of the 19th century. From evolution to evolution, ski touring was first a means of locomotion before being used for leisure. It is without doubt that an evolution of material and mentalities has allowed the opening of this sport to the largest number of people as we know it today, and it is with this evolution of material that we will be able to differentiate the more classic ski touring from the more contemporary freetouring skiing. Indeed, although similar, these two practices of mountain skiing differ.
Touring of freetouring ?
Touring skiers are usually looking for performance in the lightness of the equipment. Indeed, Skiing in the mountains requires light and reliable equipment.
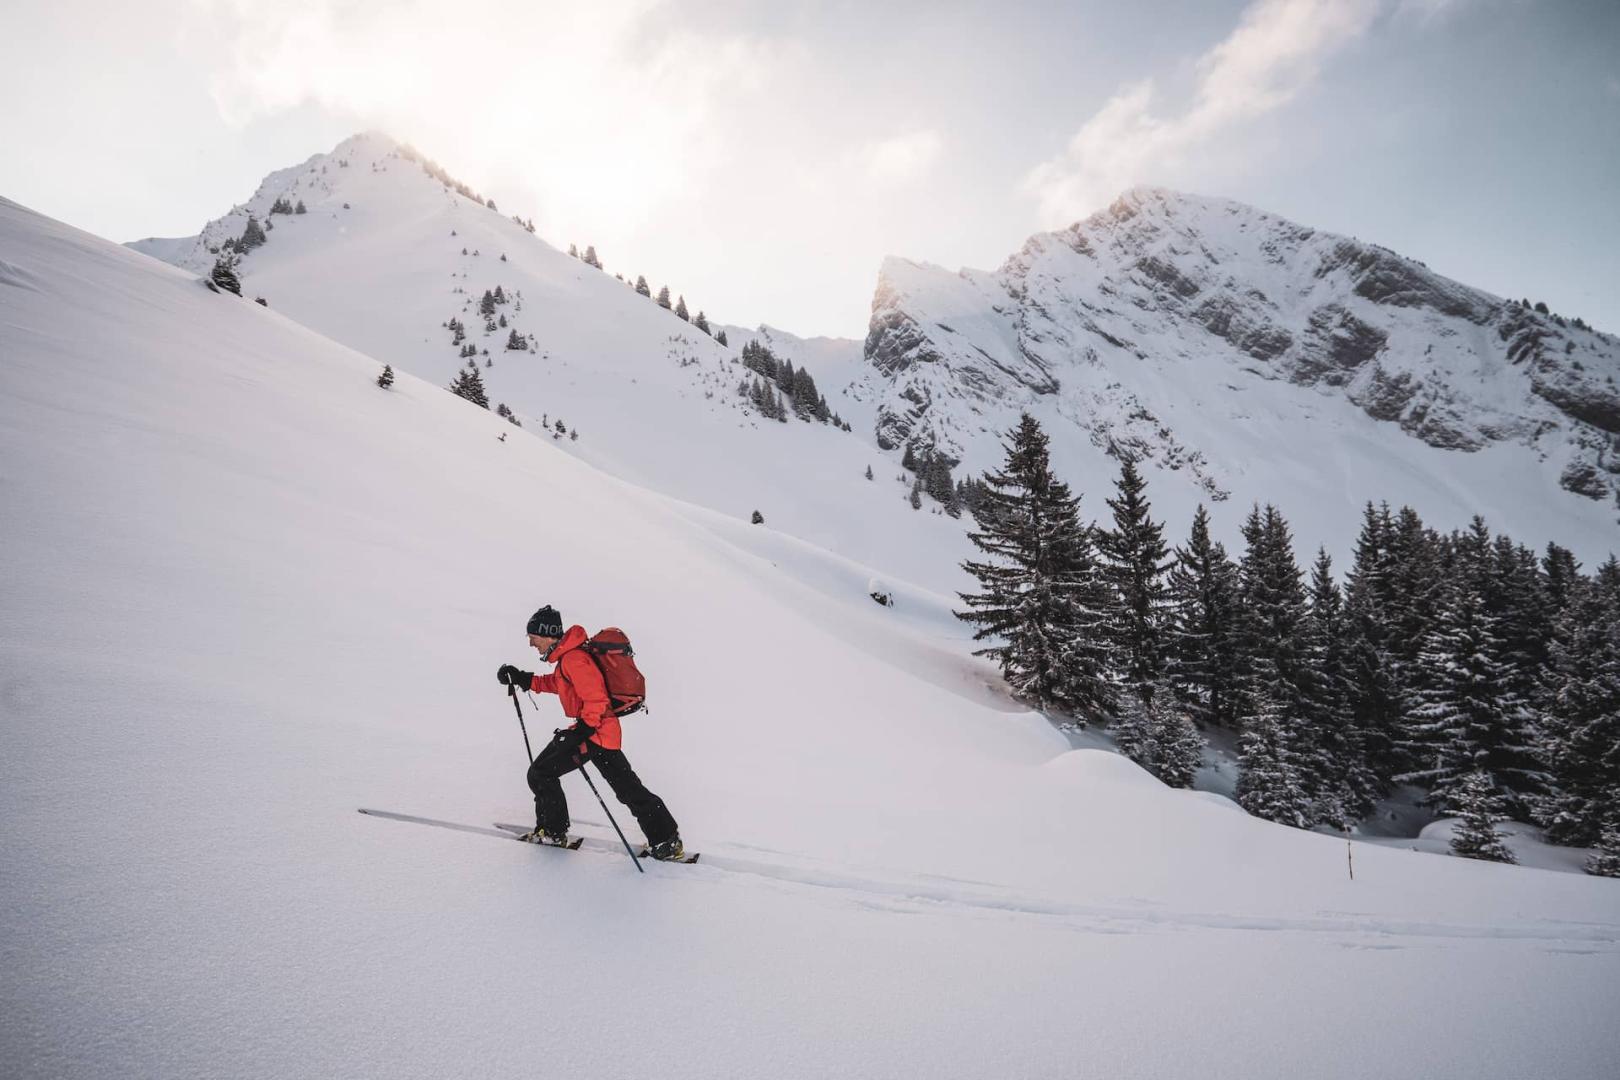
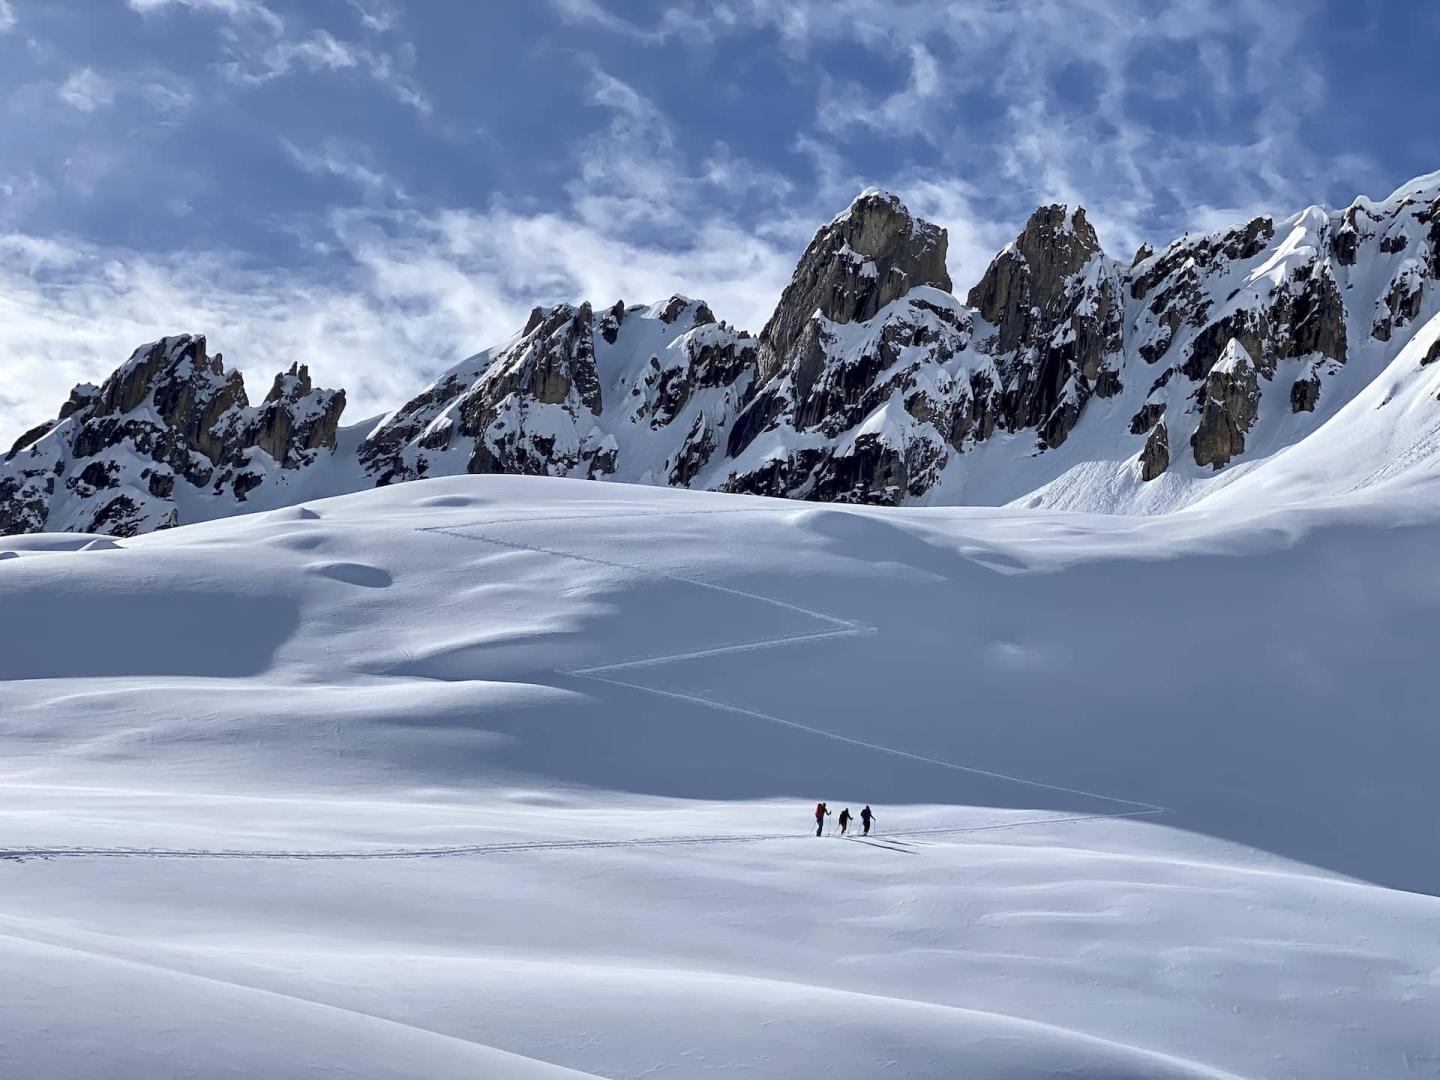
This sport allies physical effort during the climb and the pleasure of skiing in grandiose landscapes, a source of unique sensations when descending on immaculate virgin snow. An undeniable advantage, this sport can be practiced everywhere as soon as the first snow falls! With this practice you can forget about expensive ski lifts and crowded slopes, ski touring will allow you to discover the true face of the mountain with the pleasure of leaving your mark and having impromptu encounters with the wild fauna at the bend of a ridge or a rock.
Another discipline, freetouring skiing is optimized for downhill sensations. If you want to get off the beaten track and dust your nose with fresh snow, this type of ski is for you! Wide and maneuverable skis, you will concentrate your practice on the descent by accepting to provide a physical effort a little more consequent during the climb than in ski touring. It is thus with the help of the existing infrastructures that you will move away from the slopes to ride a virgin slope where the feelings of speed and freedom will take you during the ride.
Pierro’s words
“In fact, we can make a difference between touring and freetouring. The material used in both practices is not necessarily identical. Touring skiing is more inclined toward the discovery of the environment on the way up and down. It requires a substantial physical effort which is not to be climbed with the help of the ski lifts at the highest point of the ski resorts, in order to climb short distances on skins to allow to fully enjoy a great descent in good condition. This requires equipment that is more suitable for downhill and therefore heavier. Practicing both disciplines, I think the two are complementary”.
which ski to choose to start ski touring ?
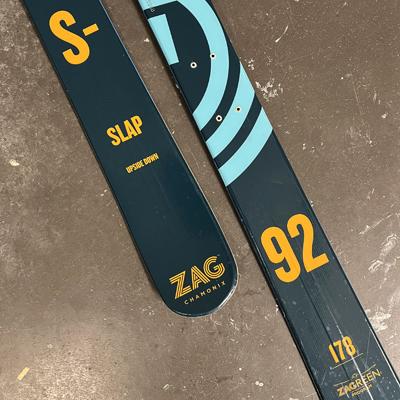
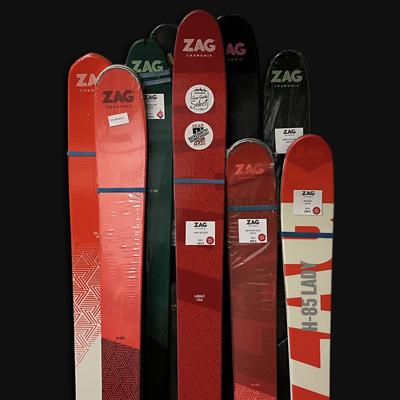
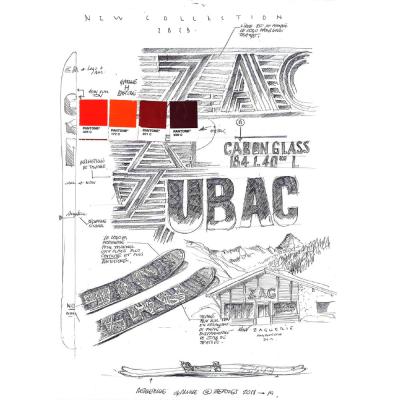
Thus, we will first define from certain criteria how to choose a pair of ski touring. A choice of entry will be made in the way we want to evolve in ski touring. We are going to differentiate the ski touring rather focused on performance in the ascent (ADRET range) with the ski touring called pleasure where a fair balance between weight, performance and pleasure will be found (UBAC or SLAP range). A ski will therefore be judged on its degree of versatility, accessibility, stability, ability to climb, ability to descend and maneuverability.
Skis from our ADRET range are very technical. They are ultra-light and therefore you need a good technical background to master them. The UBAC range as for it is a compromise between lightness for the climb and performance on the way down. This range of skis is therefore more suitable for beginner touring skiers, especially with the models with a medium width UBAC 89 or UBAC 95.
On a ski, in concrete terms, this is what we are going to talk about:
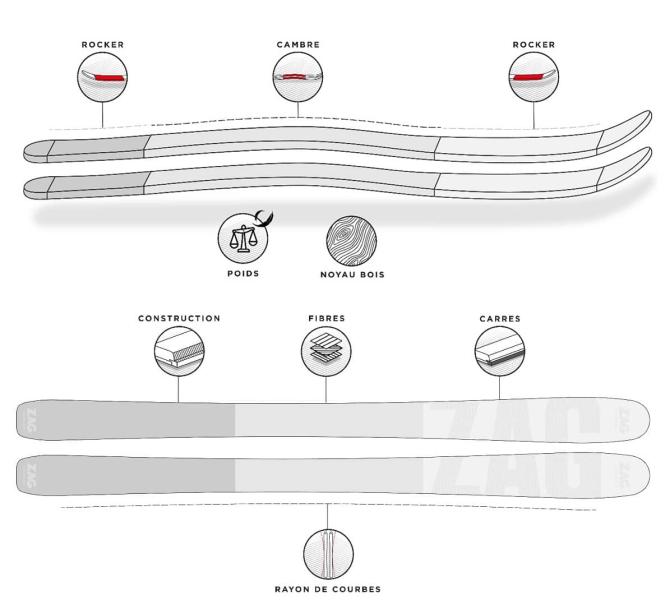
It is therefore according to your level of skiing, degree of experience in the mountains, type of outings (a lot of difference in altitude, raids over several days, outings on all types of snow), and your ambition that you will choose a ski adapted to your practice.
How to choose your touring bindings ?
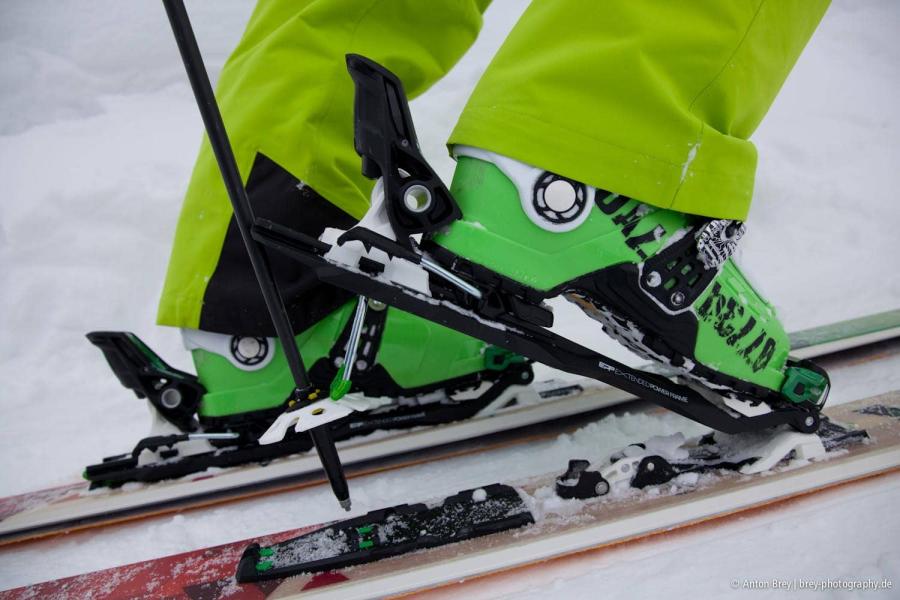
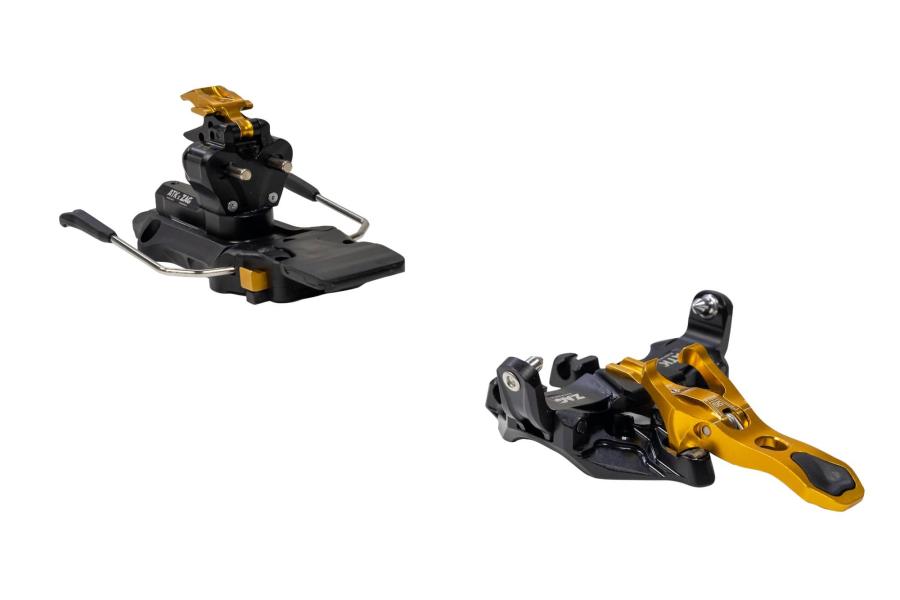
- “Low tech” insert bindings. These are the most common bindings on the market. Lighter and easier to handle, they offer less adjustability but a definite weight saving. Different levels of security are offered depending on the brand and model.
Generally speaking, the lighter the binding you choose, the less security you will have. The elements to take into account are the adjustment of the DIN in lateral and snatch (it is sometimes adjustable on a range of 4 to 12 for example or can also be fixed at 6 or 8 on the very light bindings). We advise to touring beginners to start with a binding with an adjustable DIN value to maximize safety. The use of a ski stop is also a significant gain in comfort and safety. For example, our binding made in co-branding with the Italian brand ATK: the raider 10.
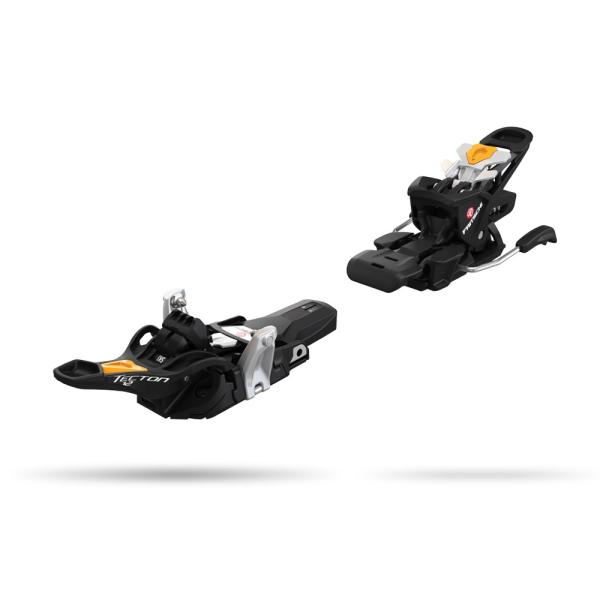
- “Hybrids” bindings for freetouring, offering the safety and flexibility of an alpine binding with the possibility to tour. The priority is the performance on the downhill and the safety. More voluminous and heavy than the classic “low tech” touring binding, the hybrid is more versatile. It is a great compromise between the insert and the plate binding for a weight between 1000 and 1700 gr the pair. Here for you some examples: Salomon Shift MNC 13, Fritschi tecton 13, Marker duke PT Kingpin,… At ZAG we recommend the Diamir Tecton 12 and the Salomon SHIFT, which are TÜV certified and therefore provide maximum safety for the skier. These mounts are often made on our UBAC, SLAP or HARFANG ranges.
Nowadays the offer is more focused on insert and hybrids bindings.
Nota Bene: Make sure that the base of the binding and the width of the stop ski are compatible with the width of the ski. A hybrid binding is best for a freetouring ski and a low tech binding for a touring ski. Now that you have a clearer idea of which ski and which binding to choose depending on what you want to do, let's look at the practical side of things!
How to fix and unfix touring skis ?
To put on a low tech binding you have to open the binding's jaw, align your shoe with the ergos and press the spring so that the jaw closes. Once done, you have to pull on the front latch to lock the binding in "walking" mode and thus avoid taking off your ski during the effort to climb. Then, remember to put your heel in the uphill position and adjust your wedges. In principle the first wedge is sufficient for most slopes. When you are on relatively flat ground it is not necessary to put your wedges on, your heel can directly touch the ski. As for the adjustment of the ski stops, on a touring ski binding this will be done by rotating your heel piece.
To take your ski off, with the help of your pole, you need to push the latch then lift your toes and turn your heel.
Pierro’s words
“Indeed if the mounting is well done, to put the ski on, simply place the boot flat on the ski between the two bindings (front and rear), put the heel on the rear binding (depending on the binding model, a few mm of distance may be necessary) and then press on the tip of the foot to activate the spring so that the jaws enter the boot inserts. For this method to work, the rear wedge must be in the up position.”
Going up in ski touring : the conversion
You must have already seen large zigzags in the snow on slopes. Each pin is a so-called conversion. The principle of the conversion is simple, when you are climbing if you feel that the slope is too steep to be tackled head on you will start a conversion. This method allows you to avoid tiring yourself unnecessarily.
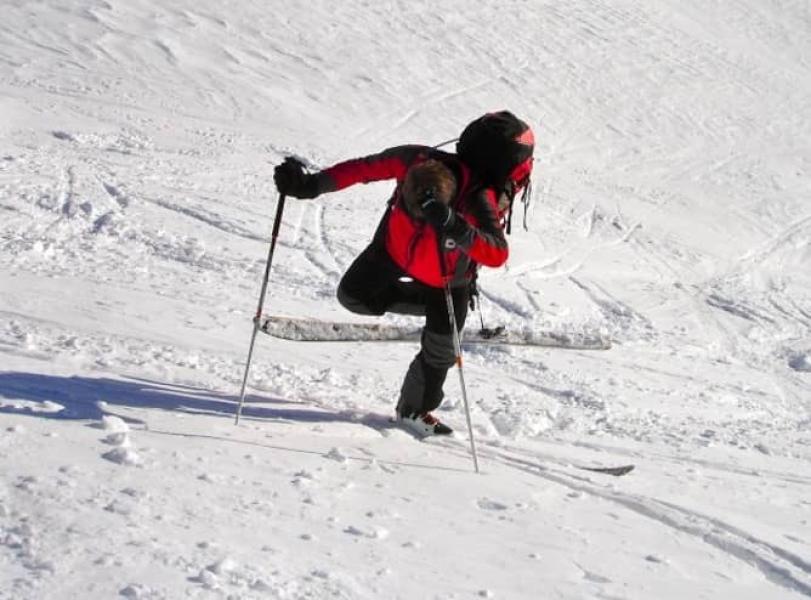
Let’s imagine that you want to do a conversion to the left:
You are going to open your arms (like the gentleman below), lift your ski up and rotate it to the left (don't hesitate to press well to be able to do your weight transfer). You will then load your weight on this leg and bend your downstream leg (here the right one), bend your knee and rotate your ski until it is parallel to the other one again. And there you have it, you push a little on the poles and you're off again!
How to put the skins ?
How to approach the downhill ?
Once you’ve reached your goal, took the time to admire the view and break the crust, it’s is time to go back down the mountain. To do this, you will first of all remove the skins from your skis and put them in your bag. Then, to put yourself in descent mode, nothing could be quicker! You turn your rear binding a quarter or half turn depending on the model so that the U is in line with your heel and you snap your foot so that they fit together correctly! Also remember to unlock your front binding because otherwise it's your knee that might get caught in it if you fall! You are ready to ride the pow!
How to properly adjust your bindings ?
Here’s a small detail that could avoid breaking your knee, a well adjust binding is a binding adapted to the length of you ski boot and depending on your weight will not be triggered if too much pressure is applied. It is therefore important to prevent it from being triggered too quickly or not at all. The release of a fastener is measured by the DIN. This unit of measurement allows you to adjust the binding to your weight. Here you can rely on the AFNOR scale for the adjustment of your bindings.
If your technical skills are not perfect, we advise you to go to a ski touring shop to have your bindings adjusted to your boot and your level! In addition, depending on the type of binding and model, some additional adjustments may be necessary. This is all the more reason to leave the adjustment to a professional if you don't know all the details of your equipment.
Pierro’s words
“When climbing we generally tend to load the body weight on the toes. As a result, the load is mainly applied to the front of the ski and can lead to a loss of skin grip. What I recommend is to press on the heels (this will pull a little in the calves at the beginning) because the load will be distributed on the whole ski, allowing the skins to grip better.
On the way down, It is very important that your bindings are perfectly adjusted to your shoe to avoid unintentional removal. If the DIN is not adapted or on the contrary, if the setting is too hard, you will not be able to take off your skis. In both cases this represents a risk of falling, which could surprise you or even worse, hurt you!
In case you lose your ski, bindings can be equipped with leash or stop skis. If you had to choose, I would advise you to use ski stops because they are less dangerous in case of avalanche.
Now that you know more about the equipment to choose, we will focus on the choice of the outing and the planning of the route. Going ski touring means preparing your trip in advance and making sure that your level is appropriate for the chosen trip. If you find it difficult to define your technical or analytical level, you may wish to consult a mountain professional (mountain guide or ski instructor)”